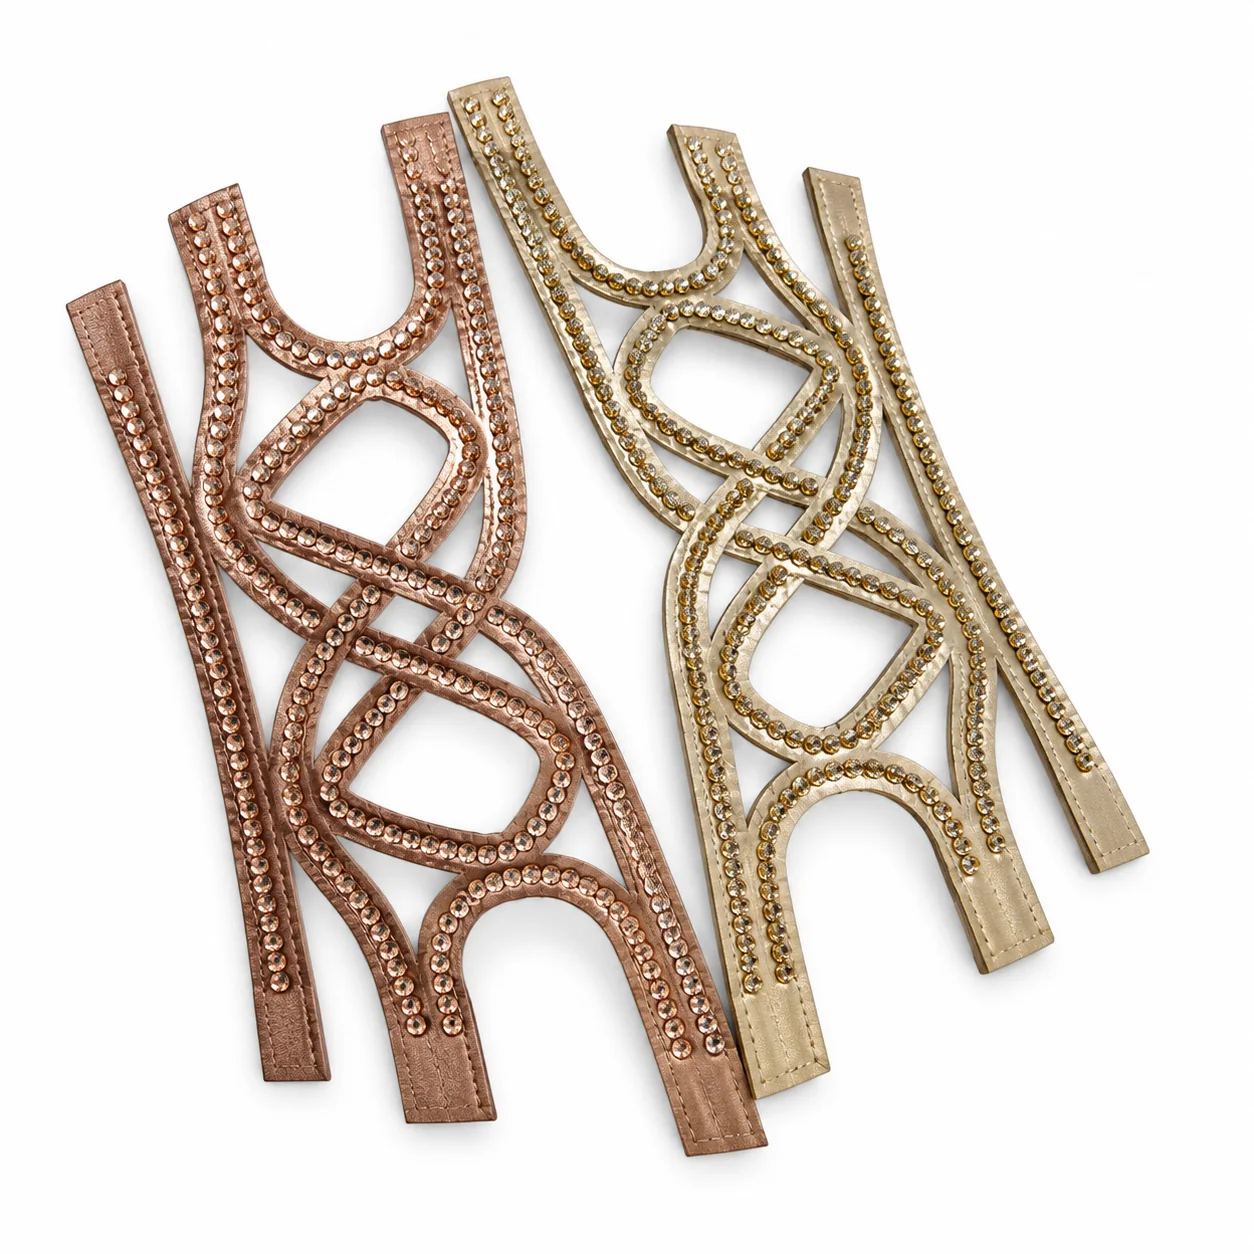
A braid can change length or width when it is pulled, stitched or fitted to a last. That makes a clear approval method especially important. The goal is not to remove every natural variation, but to identify the measurements and visual points that matter to the finished sandal.
Measure the sample without stretching it
Lay the upper flat and let it relax before measuring. Record the overall length and width, then mark the locations of any critical crossing points. If the component is measured under tension, the factory and buyer may obtain different results from the same piece.
Check braid tension and spacing
Look for sections that are noticeably tighter or looser than the approved sample. Uneven tension can change the outline and may create pressure points on the foot. For an open braid, agree on the approximate gap size at the most visible areas rather than judging the pattern only from a distance.
Compare the left and right sides
Symmetry is easy to miss when a design has several crossings. Place matching components together and compare the main lines, centre point and connection ends. If the design is intentionally asymmetric, provide separate left and right references so production does not treat the difference as an error.
Test recovery after gentle stretching
Gently extend the sample in the direction it will move during assembly, then release it. The braid should return close to its approved shape without twisting. The amount of acceptable stretch depends on the base material and footwear construction, so agree on a practical comparison sample rather than using a generic number.
Inspect edges, joins and the reverse
Check where strips begin, end or overlap. Joins should be secure and positioned so they do not create uncomfortable bulk. Review the reverse for exposed adhesive, rough edges and uneven backing, particularly when the upper will contact the foot directly.
Confirm attachment allowances on the shoe
A flat upper may look correct but still be difficult to assemble if the ends are too short or too thick. Whenever possible, fit the sample to a trial sole or last. Mark the visible line and the portion that will be lasted, stitched or inserted into the sole.
Record an approved production reference
- Overall relaxed dimensions and critical crossing points
- Strip material, width, colour and backing
- Agreed braid tension and visible gap range
- Separate left and right orientation when required
- Join locations and acceptable reverse-side finish
- Attachment allowance and packing method
See our custom sandal upper capabilities, or use the contact section to discuss a braided or woven design with Elaine.
Have a braided upper to develop?
Send Elaine your reference image, dimensions, preferred material, colour and estimated quantity. A photo of the finished sandal construction is also helpful when connection points need to be checked.
Email: elaine@duomeint.com
Phone / WhatsApp: +86 159 1584 9874