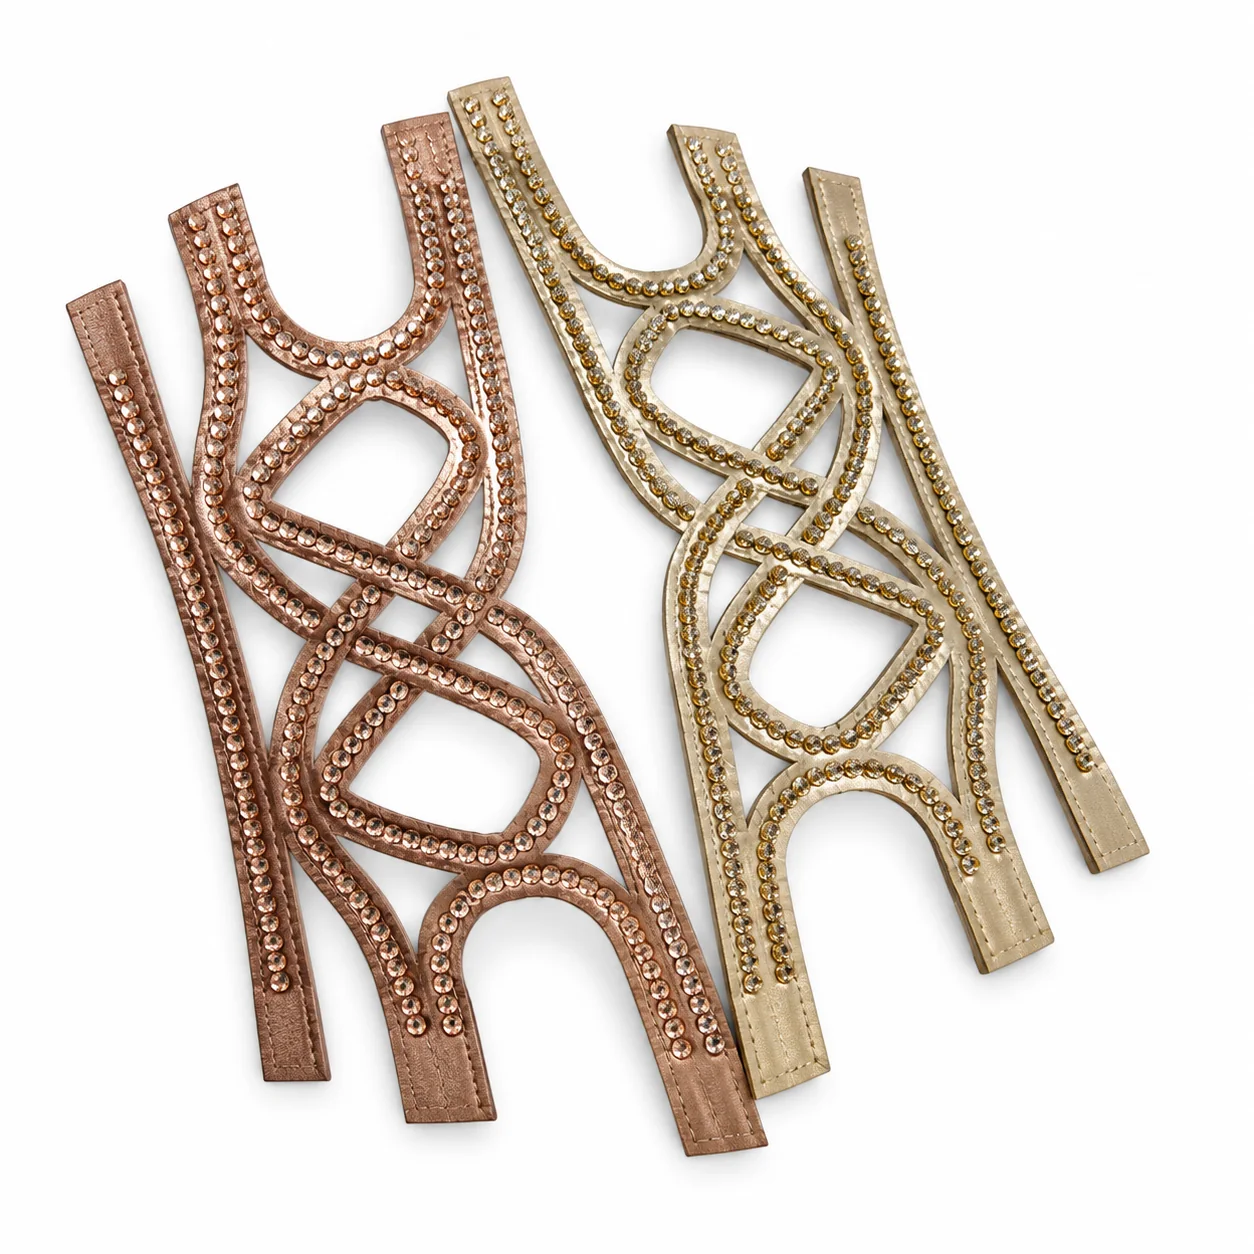
When a footwear brand sends a photo of a PU sandal upper, the supplier can usually see the colour and silhouette. The photo rarely shows how the strap edge was made. A folded edge, a clean cut edge and a bound edge can look similar at a distance, yet they produce different thicknesses and handling at assembly. Agree on the visible and hidden edge details before judging the first sample.
Mark the edges that people will see or touch
Start with an annotated front and back photo. Mark the edges exposed on the finished shoe, the edges that contact the foot and the ends that disappear under the sole or another component. They do not necessarily need the same finish. A visible top strap may need a neat, consistent edge, while an attachment end needs the correct allowance and thickness for lasting or stitching.
Include the shoe size used for development. On a narrow strap, a small change in finished width can be noticeable. Specify whether the width on your drawing describes the cut material or the finished strap.
Choose a construction, then review its trade-offs
A folded PU edge can hide the cut edge, but the fold adds bulk. On a tight curve or a very narrow band, that bulk may affect the shape. A cut edge avoids the fold, but its appearance depends on the material, cutting quality and any treatment applied to the exposed section. A bound or layered edge adds another material and another line to align.
Do not approve a construction from a close-up photo alone. Handle the physical sample, bend it as the shoe will bend and compare left and right pieces. Ask to see the underside as well as the decorated face.
Confirm backing and overall thickness
PU face material is only part of the strap. Lining, reinforcement, adhesive, stitching and decoration can change the finished thickness and flexibility. Tell the supplier where the strap passes through a loop or buckle and where it will be fixed to the shoe. The shoe factory should confirm that the sample can be assembled without unexpected trimming or excess bulk.
If comfort against the foot is important, review the edge and backing together. A smooth face does not guarantee that the underside or seam will feel smooth in wear.
Check finish consistency around curves and joins
Inspect the same edge from end to end. Look for changes in width, puckering at curves, exposed backing, uneven stitching or colour differences along the cut section. Pay extra attention where two straps cross or where decoration approaches the edge. The finish should remain intentional at those junctions, not just along the straight section photographed for approval.
Match a left and right pair side by side. Two straps may be individually acceptable but still show different curves or edge widths when assembled as a pair.
Agree the approval record
A compact sample sheet can prevent a later disagreement. Include:
- Material and colour reference for the face and backing
- Finished strap width at named measuring points
- Edge construction for each exposed section
- Finished thickness where the strap enters a loop or attaches to the shoe
- Photographs of the front, back, curves and attachment ends
- Approved left/right pair and sample revision number
If your brand requires a particular flex, abrasion or colourfastness test, send the exact method and acceptance criteria before sampling. Requirements vary by material, market and finished-shoe design, so the test plan should be agreed for this product rather than assumed from another style.
Explore our custom sandal upper capabilities and product samples. For a strap construction you are developing, use the contact section to share your brief.
Have a PU strap reference?
Send Elaine reference images, marked dimensions, materials, colours and estimated quantity. A back view or physical sample is especially useful for reviewing the edge and attachment method.
Email: elaine@duomeint.com
Phone: +86 159 1584 9874
Send a WhatsApp enquiry