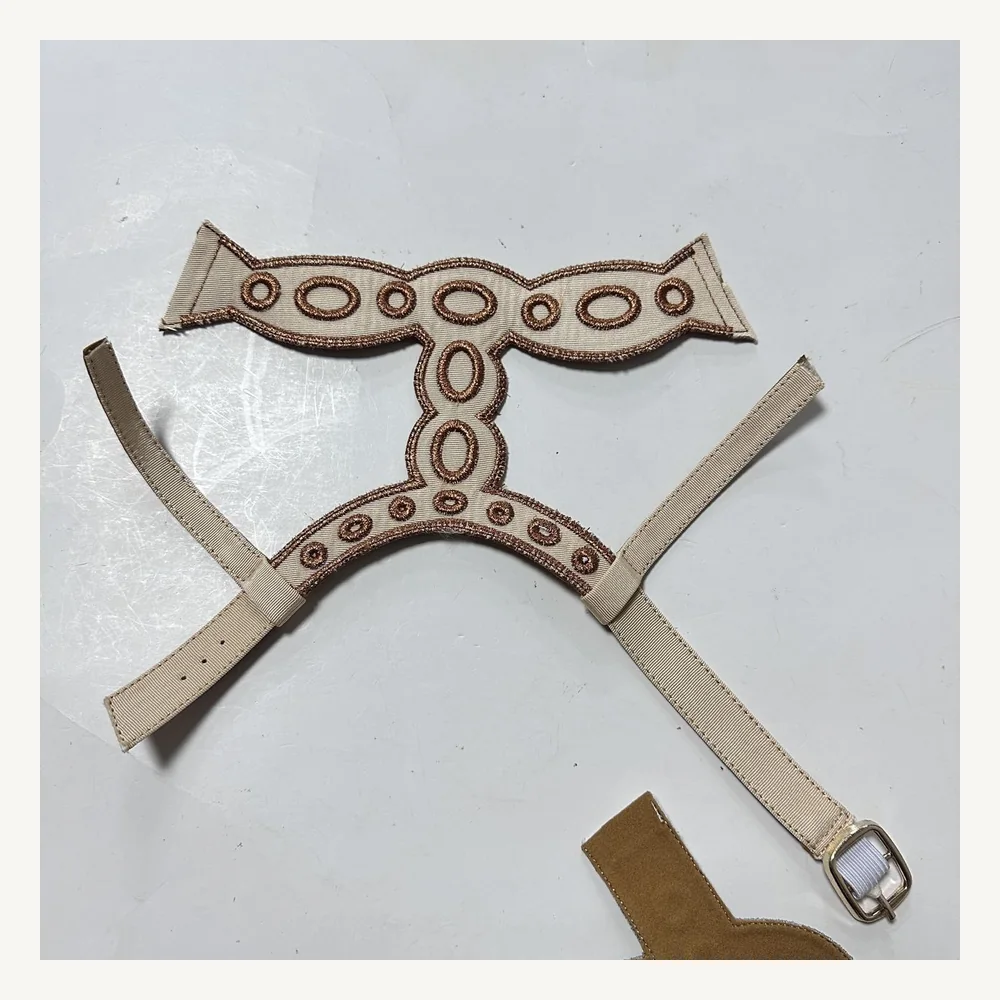
Custom sandal uppers combine soft materials, curved shapes and hand-applied details. They are not inspected like a rigid metal part. Even so, buyers and suppliers need clear dimensions and realistic tolerances. The goal is to control the points that affect assembly, fit and appearance without creating limits that the material or construction cannot consistently achieve.
Identify the dimensions that affect the shoe
Start with the finished shoe construction. Which points determine where the upper attaches to the sole? Which opening affects instep fit? Which straps must meet a buckle, loop or stitch line? These functional dimensions deserve priority. Decorative distances can also matter, but they should not obscure the measurements that decide whether the upper can be assembled correctly.
Mark exact measuring points
A label such as “upper width” can mean the straight distance between two edges, the distance along a curve or the width after the component is folded. Show arrows on a photo or drawing and name the start and end points. State whether the component is measured flat, relaxed, lightly tensioned or mounted on the last. Include the unit and the applicable shoe size.
Separate cut size from finished size
Folding, stitching, embroidery, heat pressing and backing can change the final measurement. If you provide a pattern, clarify whether its dimensions refer to the cut piece or the finished upper. Production approval should normally focus on the finished component and the assembly allowances required by the shoe factory. The supplier can then manage intermediate dimensions within the process.
Account for stretch and soft materials
PU, mesh, woven bands and braided straps do not behave the same way. For a flexible part, record the relaxed dimension and, where relevant, a controlled stretched dimension. Define how much force is used rather than pulling by hand until the result looks right. When formal stretch testing is required, agree on the test method, sample conditioning and reporting before production.
Set tolerances from function and process
A tighter tolerance is not automatically a better specification. It may increase sorting or rejection without improving the shoe. Discuss normal process variation with the upper supplier and shoe factory, then set limits around fit, attachment and pair appearance. Critical points may need narrower control than decorative edges. If no production history exists, use the first samples to collect measurements before fixing the final tolerance.
Check symmetry and pair matching
Measure the left and right components in the same orientation. In addition to individual limits, decide how much difference is acceptable within one pair. Place the pair together to review curves, decoration centres and strap angles. Two parts can each meet a numerical tolerance yet still look unbalanced, so the approval record should include both measurements and clear pair photographs.
What to put on the sample approval sheet
- Style number, shoe size and component orientation
- Numbered measuring points shown on a photo or drawing
- Target dimension, unit and acceptable tolerance for each point
- Measuring condition: flat, relaxed, tensioned or on-last
- Required assembly, folding and stitching allowances
- Left/right pair comparison and approved reference photographs
Keep the approved physical sample and measurement sheet together. If the base material, backing or decoration process changes, recheck the affected dimensions rather than assuming the old limits still apply. Browse our sandal upper development samples and product capabilities, then use the contact section to discuss your construction.
Preparing a sandal upper sample?
Send Elaine your reference image, marked dimensions, material, colour and estimated quantity. If you have a last drawing, pattern or required tolerance sheet, include it so we can review the measuring points before sampling.
Email: elaine@duomeint.com
Phone: +86 159 1584 9874
Send a WhatsApp enquiry